DC-In Power Jack Replacement Guide: HP 15-FD & 250/255 G10 Series
This article provides a step-by-step walkthrough for replacing the charging port (DC-In cable) on modern HP 15-inch and 250 G10 series laptops.
🛠️ Preparation & Safety
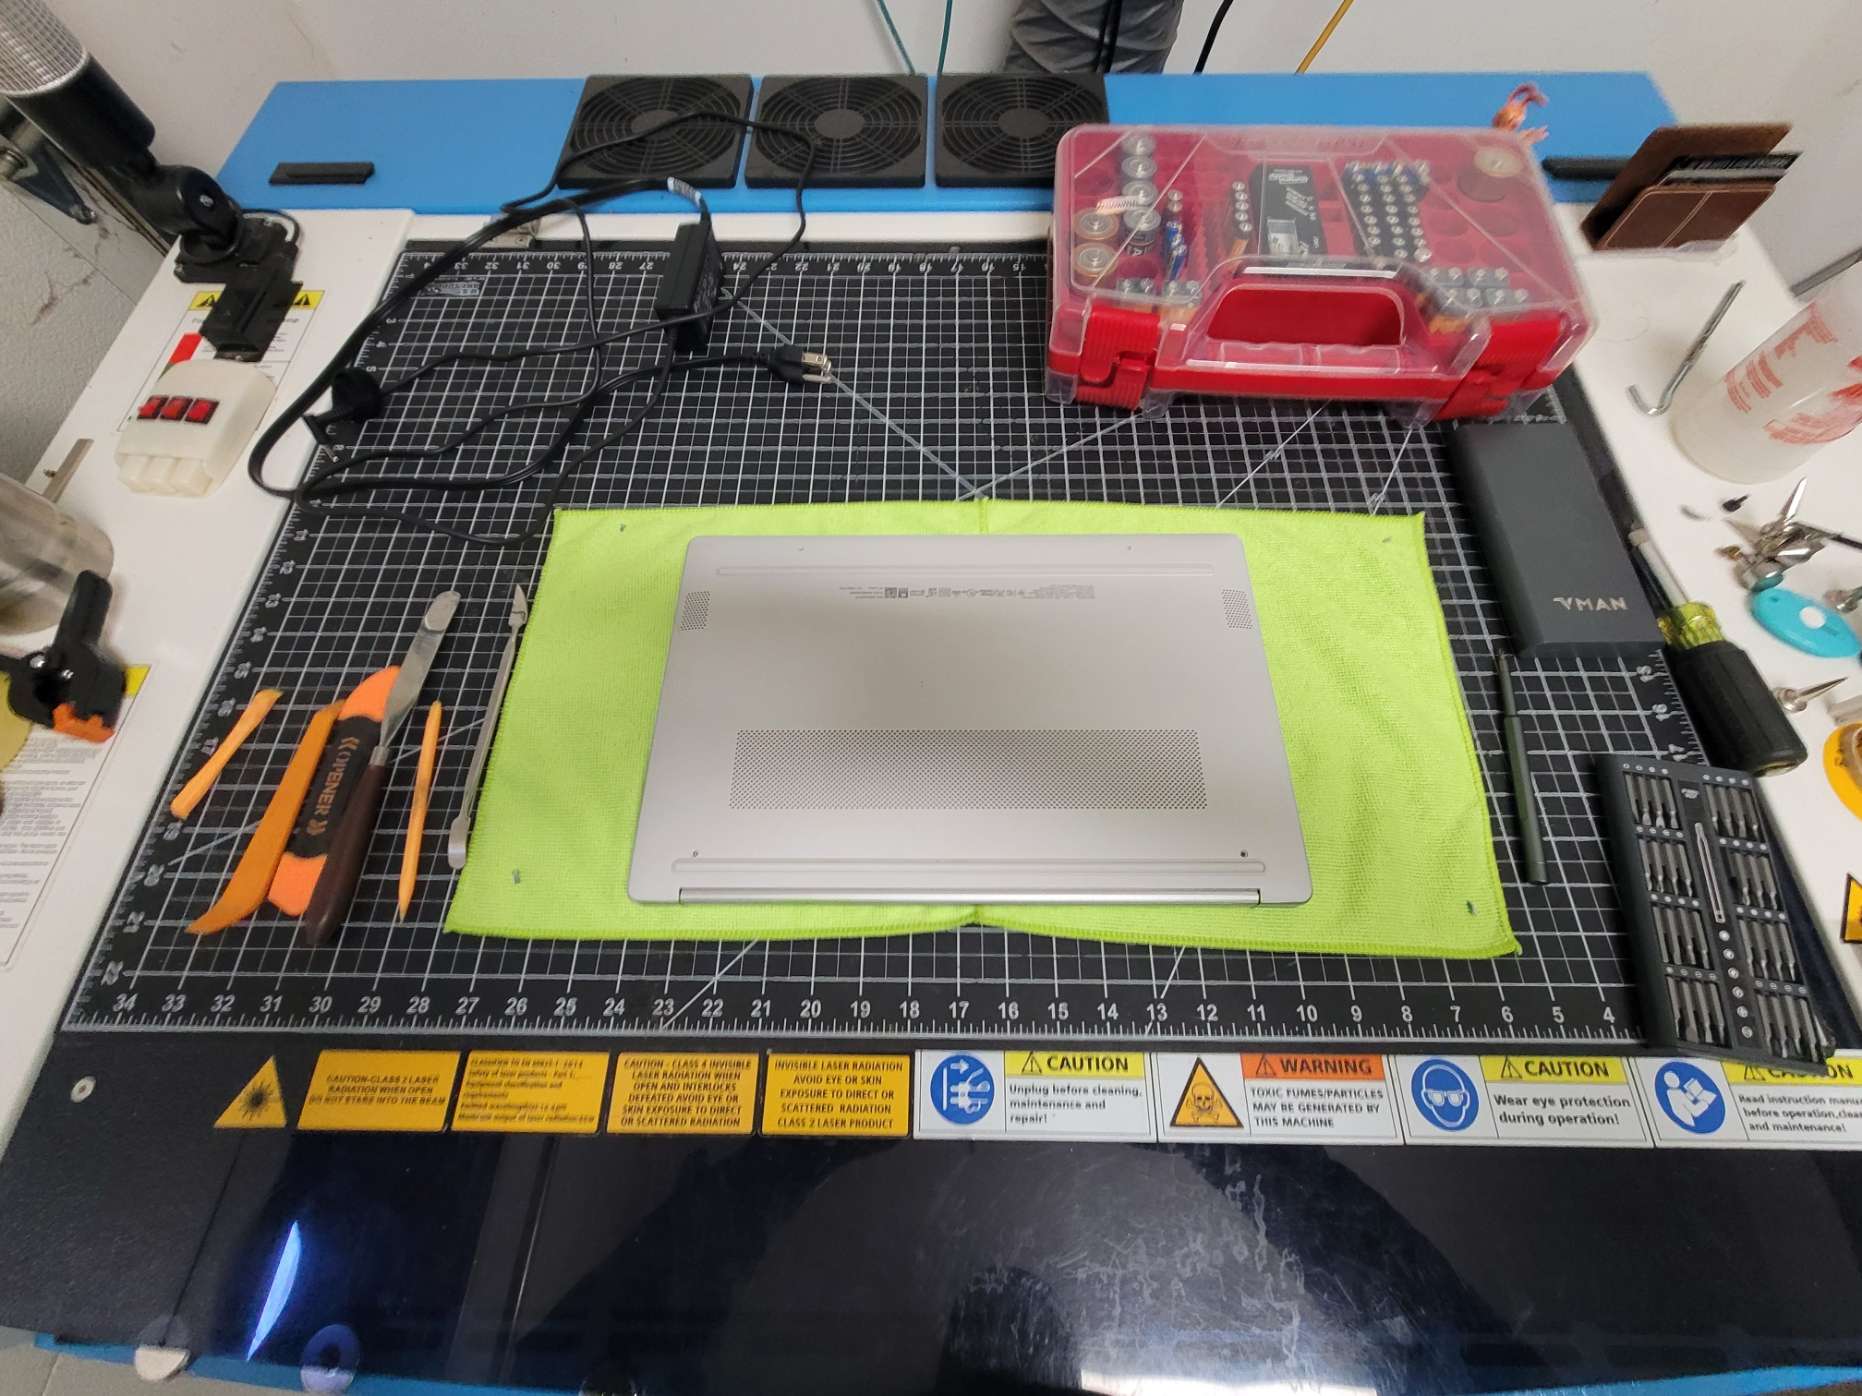
Before beginning, ensure your workspace is a soft, non-marring, and static-safe surface to prevent scratches to the laptop casing or ESD damage to the motherboard.
-
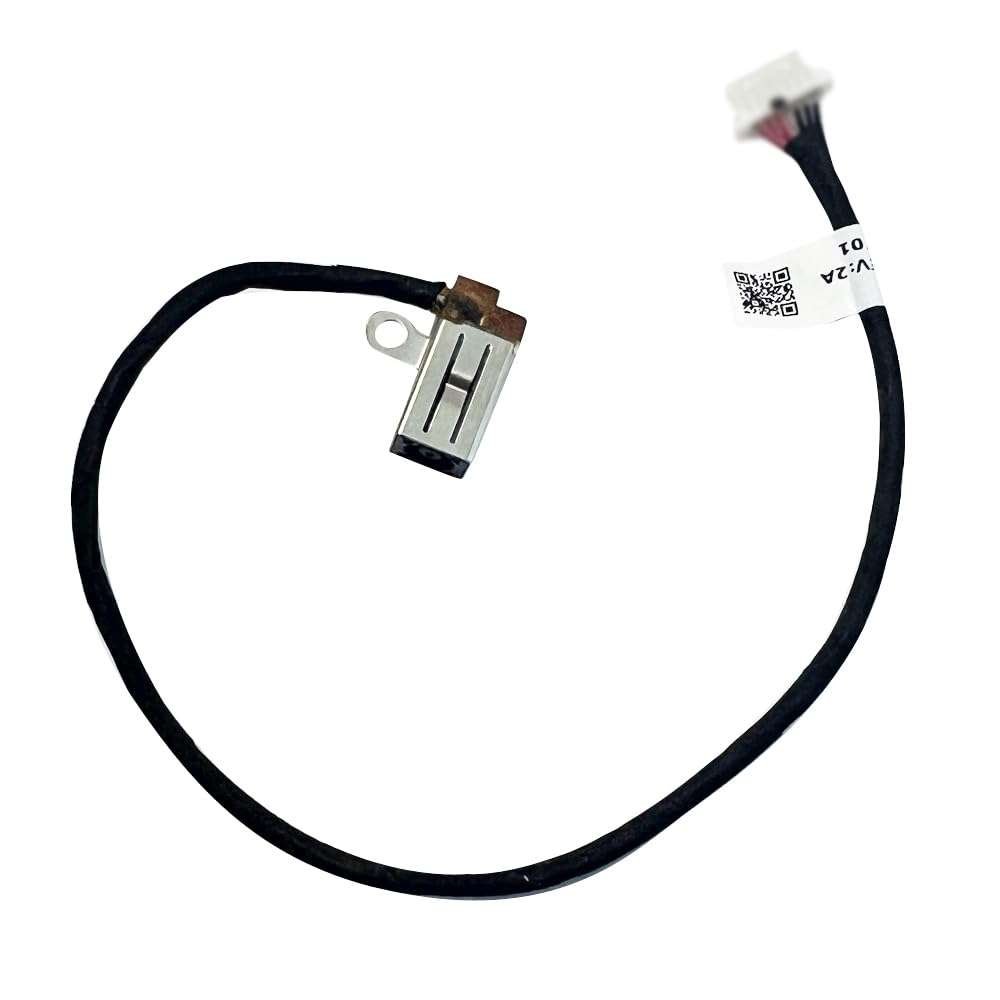
Part Number: N36075-001 / DD00PDAD040
-
Tools: Phillips #00 Screwdriver, Plastic Spudger, Tweezers.
- Camera/Phone: Take detailed pictures at every step so you can refence them inf necessary
NOTE: the screws are different lengths and can be different sizes, so be sure to carefully keep up with their original locations to prevent loose or improper fitment and/or damage, etc…
🏗️ Step-by-Step Instructions
📂 1. Remove the Bottom Cover
-
Remove the visible screws on the bottom of the chassis.
-
Note: Check under the rubber feet strips if the cover feels stuck; HP often hides screws there.
-
Use a plastic pry tool to gently release the clips around the perimeter.

🔋 2. Remove the Battery
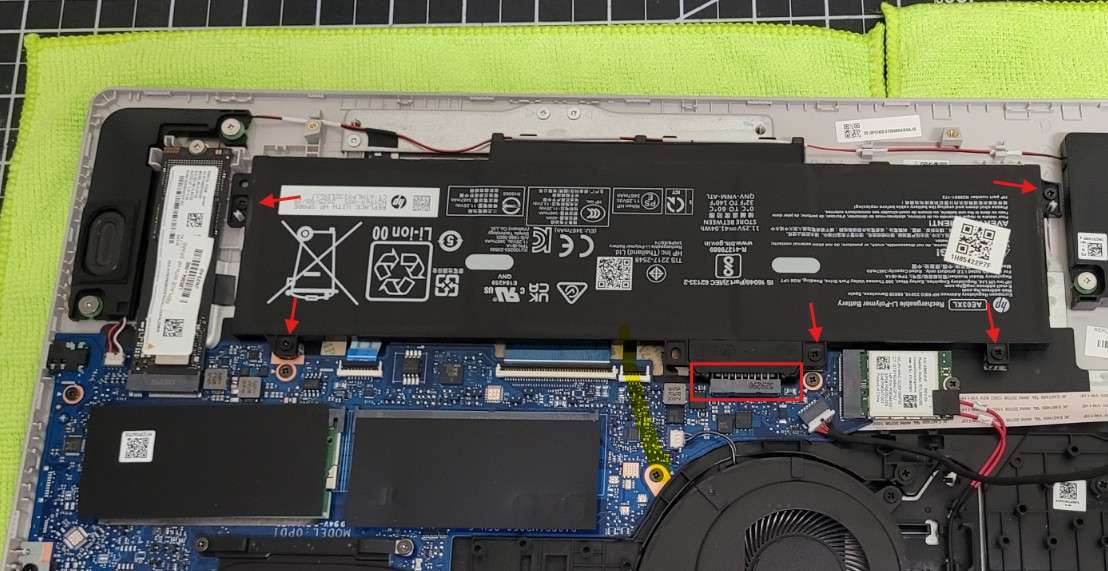
On these specific models, the battery must be completely removed to access the DC-in cable routing or connector.
-
Unscrew the internal Phillips screws holding the battery in place.
-
Carefully lift the battery out. In some configurations, the battery connector is integrated—ensure it is fully unseated before proceeding.
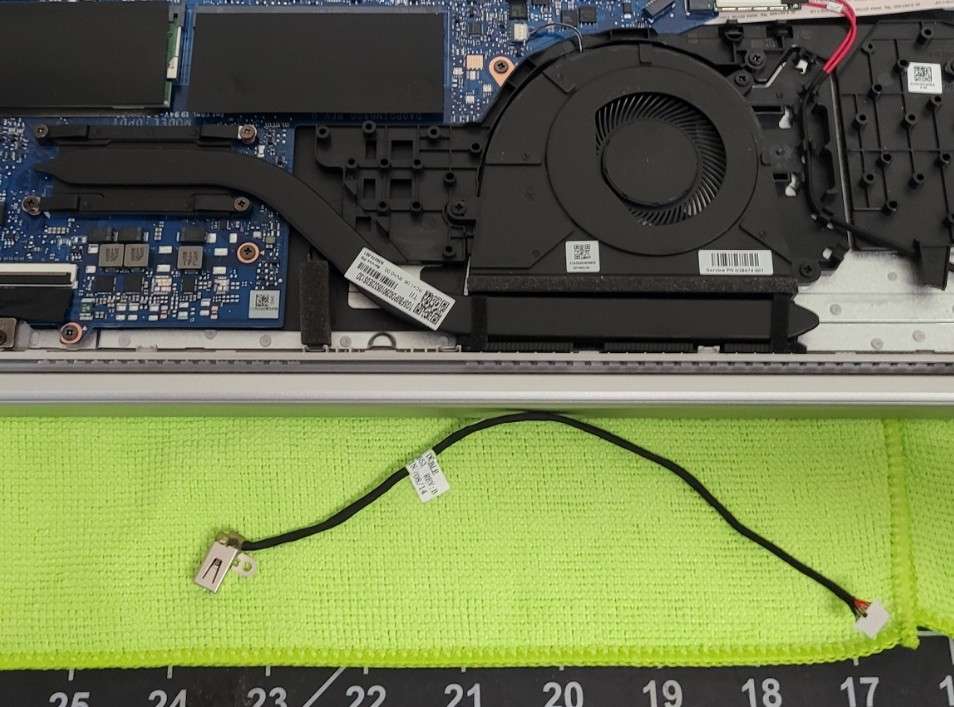
🔩 3. Remove Hinge Screws
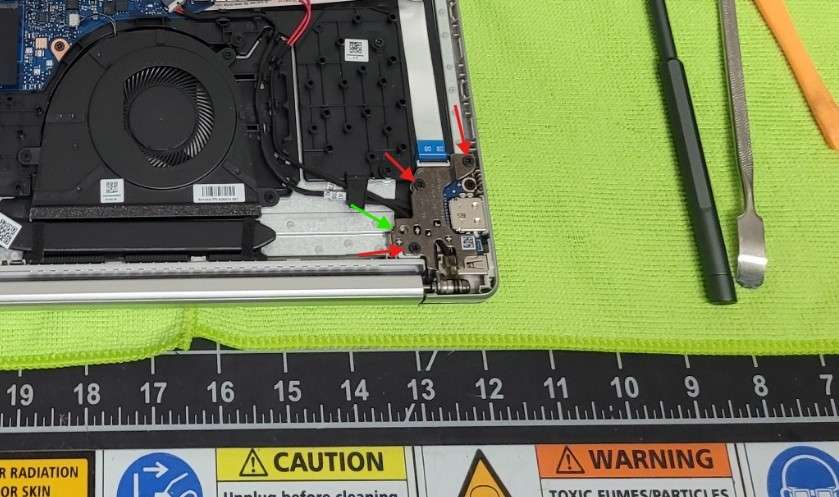
The DC-in jack is nestled securely beneath the display hinge for stability.
-
Locate the screws (red arrows) securing the hinge on the side of the charging port.
-
Remove these screws entirely and keep them organized, as they are often a different size than the case screws.
Note any empty screw hole locations in the hinge bracket, often the bottom case screws in the rear secure the brackets as well (green arrow).
🔓 4. Lift the Hinge
-
Carefully pull the hinge upward.
-
Caution: Do not force it too far back, as you do not want to put unnecessary stress on the display cable or the opposite hinge.
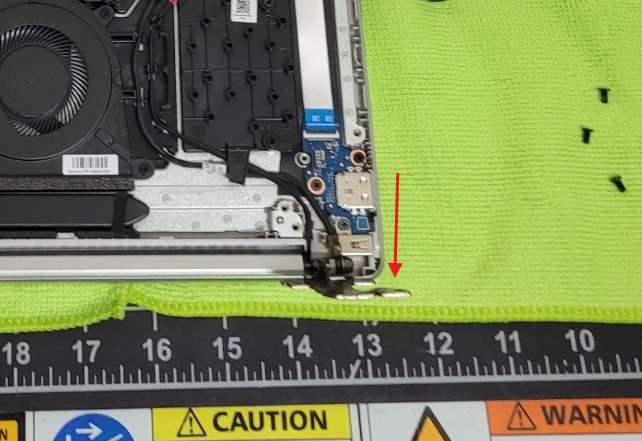
🔌 5. Remove the Faulty Jack
-
Disconnect the DC-in cable from the motherboard by pulling the plastic header (avoid pulling the wires).
-
Lift the jack out of its custom-molded plastic housing.
🔄 6. Install the New Cable
-
Place the new 20.1cm cable into the housing.
-
Route the cable through the designated guides. Proper routing is essential to ensure the cable is not pinched when the hinge is lowered or the battery is reinstalled.
-
Plug the connector into the motherboard.
✅ Reassembly & Testing
-
Lower the hinge and replace the hinge screws.
-
Reinstall the battery and secure its screws.
-
Snap the bottom cover back into place and replace the external screws.
-
Test: Plug in the AC adapter before booting. The side LED should indicate a charging state (Amber or White).