Serving Middle TN for over 20 yrs.

Fill out the form below to get your free initial consult

    📩 Contact Tech Bravo

    Complete the form below and we'll get back to you shortly.


    Serving Middle TN for over 20 yrs.

    Taking A Hacksaw To My Aurora 8 v1.0

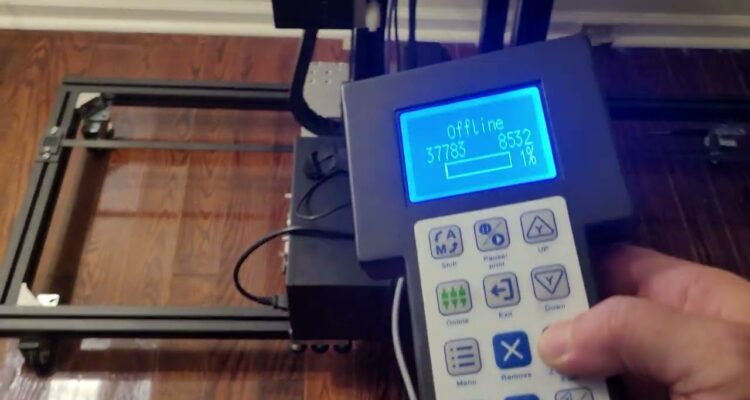
    So. I’m burning the midnight oil and burning up a few hacksaw blades and cutting up the Aurora a little bit to give a little more clearance. This V1 housing had this and I made a linear table for the V2 and it works on this one, but it sits too far forward. So I’m making that so I can slide it back. the full use of the workspace. I decided to use just a hacksaw and a small drill bit to perforate some material at specific locations. It was the least invasive, least noisy, least messy strategy. I didn’t want to run a grinder or dremel and all that. i’ll dress up those edges and it will look almost like it was meant to be. More on setup and use to follow. https://www.youtube.com/shorts/0JF78CIRTbw?feature=share https://www.youtube.com/shorts/0JF78CIRTbw?feature=share Okay, so I cut the sides out of the Aurora and I cut some rudimentary guides out of some stuff I got from Houston acrylic. Ice blue mirror. It’s beautiful and it looks pretty on my linear table and it stinks to high heaven when you cut it. It’s terrible.  My daughter had some furniture with wobbly legs and we discovered that they had these little feet them so I ordered a bunch on Amazon and gave her what she needed and kept the rest. And lo and behold, they’re perfect to hold my guides in place on here. They’re low profile. I can tighten them up with a quarter or a screwdriver back edge of a knife or whatnot. Just thought that was cool. I’ll keep you posted. More to follow. Okay, so I’ve got the guides on. I’ve got 10 cards loaded. I’m using uh batch repeat marking actually in LightBurn. So basically it’ll allow me to load 10 cards on here. I could load up to 16 the way I have it, if I configured a little bit differently. I’m just going to do 10 at a time. So now I can let it do 10 cards at once automatically and not have to babysit the machine. So finish this one and move to the next one and go all the way to the end. Pretty cool. https://www.youtube.com/shorts/0JF78CIRTbw?feature=share

    The White Toner Printer

    So, I am getting rid of the Thunder Laser Bolt and want to put another technology in its place. I had considered a small mini milling machine to make metals like a four axis CNC mill or something like that, but I decided to go with a printer so that I could do promotional items like cups, hats, shirts, acrylic puzzles, decals, stickers, and things like that. After researching lots of different technologies, mostly inkjet, I’ve decided to go with a white toner printer. Me being a tinkerer and hobbyist means that I don’t run the equipment very often and I don’t want all of the cost and hassle associated with purging and cleaning inkjet wet ink systems. Looking around a bit at some of these printers I realized they were mostly Ricoh and Oki. I am factory trained on Oki and have worked on Ricoh… so I’m familiar with both. I opted for the Uninet iColor 550 printer because it will do both an underprint and an overprint, among other things. The iColor 550 series printer is a few years old and a legacy model, so I got it on clearance but it’s new in box.  I thought it was an Oki LED print engine based on some toner search results, but the unit actually looks to be a Ricoh SP C342DN.  I have been told its a good unit, but the newer software and firmware out by Uninet has made great strides since then and to try to get the latest and greatest firmware and software if at all possible. I also got a decent auto-open clamshell 16×20 heat press, and some starter packs of transfer and a/b films to experiment with. I am anxiously awaiting the arrival of this new equipment, and I will update this post as I move along with the process. I have been told the higher quality heat presses do make a difference, but i think middle of the road will get me the result i’m looking for, at least for now. The stuff should arrive soon! Here’s a little update (I said it’s an Oki in the video, but I confirmed its a Ricoh SP C342DN print engine, just fyi): The Equipment showed up. Here is my initial take on it: Installing Icolor 550 Driver and Rip Software:

    The TXC UV Wall Printer

    This is a UV printer that prints on walls. I thought it was some cool tech and I wanted to learn more about one, so I traded one of my many hardly-used lasers for one.   I’ve had experience with wide/large format inkjet printers but none that printed vertically, and not specifically UV, but it looks pretty simple (I’m sure its not ‘that simple’) and familiar so off I go… This is the overview of the drive systems. This model uses belts, not the rack and pinion that I’ve recently seen on the newer units. https://youtu.be/8is8VmAjmm0 Reported Model Number Discrepancy According to the seller, (who had factory reps remote in to setup & train him) and all the markings, documentation, etc… it’s a TXC-UV900. But the frame and peripherals are different in a few places. The visual identification suggests that it’s a TXC-WP390. I’ve dealt with Chinese OEM’s and it could be an early version of the uv900. There is some intermingling of upgrades/updates in the manufacturing process as they have to use up the old stock first and they deplete at different stages, at least to some degree. Some Initial Testing i mean who wouldn’t want a haphazardly placed, mostly complete, almost life-size print of Reba’s head on their wall? I’ve Made Some Progress The manual says you need Photoshop to add a spot color for white on the CMYK channels. Gimp won’t do it. So I fired up Corel-Photo Paint 2018 and I am able to add spot color channel for white as well as define/import color profiles for the printer. So I think that’s where I’ll do most of my prep, hopefully using templates and other assets in the editor. Then I can bring it into the RIP or maybe send it directly to the buffer since the color profiles are dialed in. There is an OEM video of adding the white spot color in Photoshop here. My Aim is to replicate that in Corel Photo-Paint.   UPDATE: I did accomplish the exact same thing for the alpha channel in Corel Photo-Paint. The Wall Printer Has Been Sold I successfully printed with it, learned to calibrate, purge, maintain, focus, etc… the printer but it had to go so we could reclaim our front room. I decided I didn’t want to start a wall printing business. So I moved it before it sat around and dried up. On to the next one!